

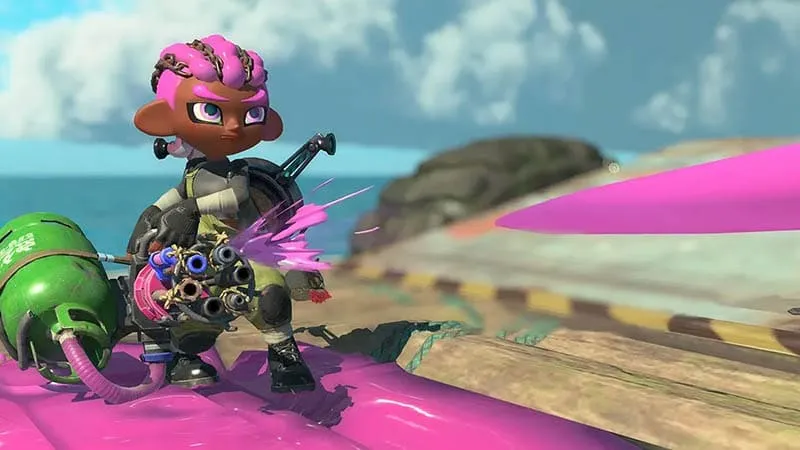
Splatoon Raiders includes 11 main weapon types and more than 100 individual variations. However, finding a familiar weapon class does not mean every version will perform in the same way. Some variations increase range, others reduce ink consumption, and rarer weapons may include additional powers.
Because of this, you should not judge a weapon only by its level or appearance. Damage, firing speed, range, mobility and ink efficiency can completely change how well it works with your Tank and gadgets.
This guide explains every Splatoon Raiders weapon type, their main strengths and the details you should check before upgrading or scrapping a weapon.
How Weapon Variations Work
New weapons can drop after defeating Salmonids, with some rare versions carrying special powers. Nintendo has confirmed that the game contains more than 100 variations divided across 11 weapon classes.
Higher-level weapons generally have stronger stats, but level alone does not tell the full story. Two Shooters from the same class may behave very differently. One might clear Lesser Salmonids quickly, while another sacrifices firing speed for better damage and range.
Before choosing a weapon, compare these areas:
- Damage and attack speed
- Effective range
- Ink consumption
- Ground coverage
- Movement while attacking
- Additional powers
The right weapon should perform a clear job without leaving you with a weakness that your Tank or gadgets cannot cover.
Shooters
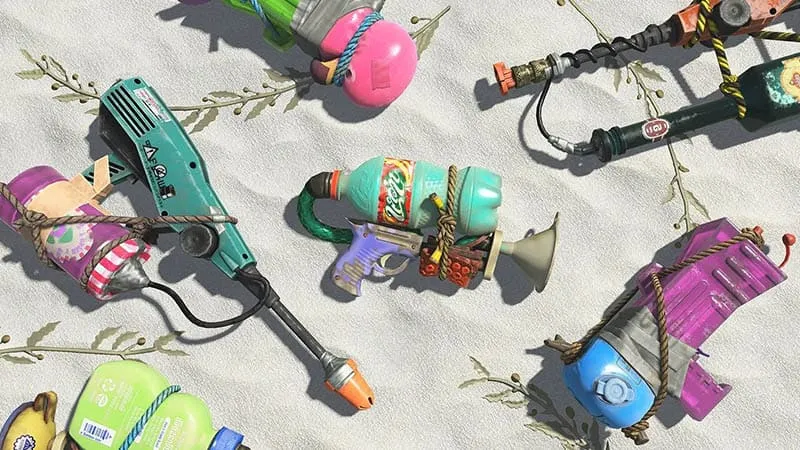
Shooters fire a steady stream of ink and remain the most balanced option in Splatoon Raiders. They can paint escape routes, remove weaker Salmonids and keep pressure on moving enemies without needing to charge an attack.
Some versions focus on rapid fire and crowd control, while others improve accuracy, range or individual shot damage. Longer-range Shooters are especially useful when attacking Boss Salmonids from a safer position.
Their biggest advantage is flexibility. A Shooter may not be the strongest class in one particular area, but it can remain useful when the situation suddenly changes.
Best for: Beginners, general play and mobile loadouts.
Dualies
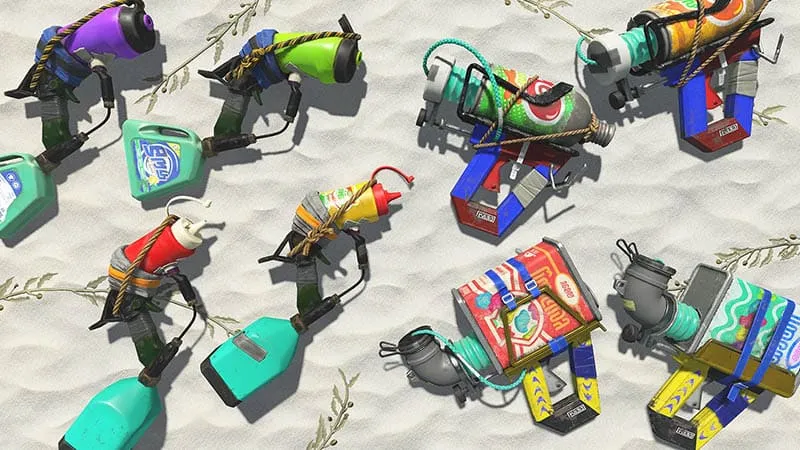
Dualies combine two compact weapons with the ability to perform Dodge Rolls during combat. A well-timed roll can move you out of enemy ink, help you avoid overlapping attacks or create a better angle against a protected target.
Weapon variations can affect roll distance, recovery time, range and accuracy after dodging. Speed is important, but a good Dualie should also allow you to continue firing without leaving you exposed.
Rolling without checking the surrounding area can send you into a wall or directly toward another enemy. Dualies work best in open spaces where you have room to change direction.
Best for: Fast repositioning, flanking and avoiding attacks.
Chargers
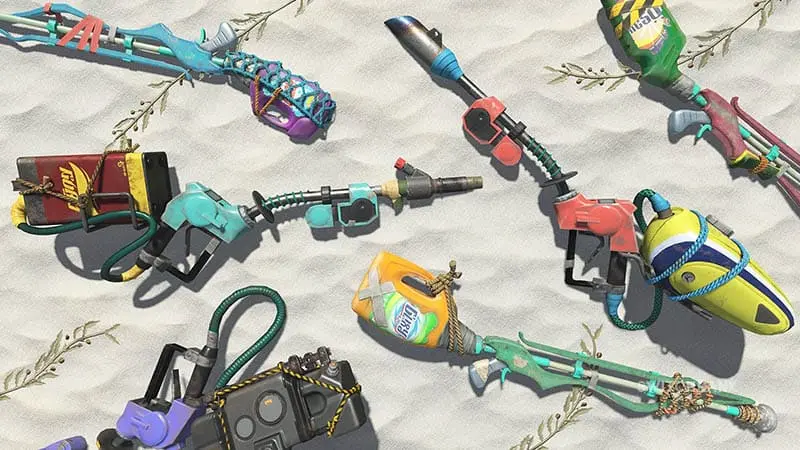
Chargers build power before firing a precise long-range shot. They are ideal for hitting distant enemies or damaging Boss Salmonids that only reveal their weak point for a short time.
Different versions can improve charge speed, range, damage or ink efficiency. A slower Charger may deal heavier damage, but faster charging often feels more reliable when smaller Salmonids are constantly interrupting your aim.
Close-range pressure remains the class’s main weakness. Nintendo uses Shot Pot and Torqscrew alongside a Charger as an example of gadgets protecting a weapon that needs time and space to attack.
Best for: Distant bosses, elevated targets and weak-point damage.
Blasters
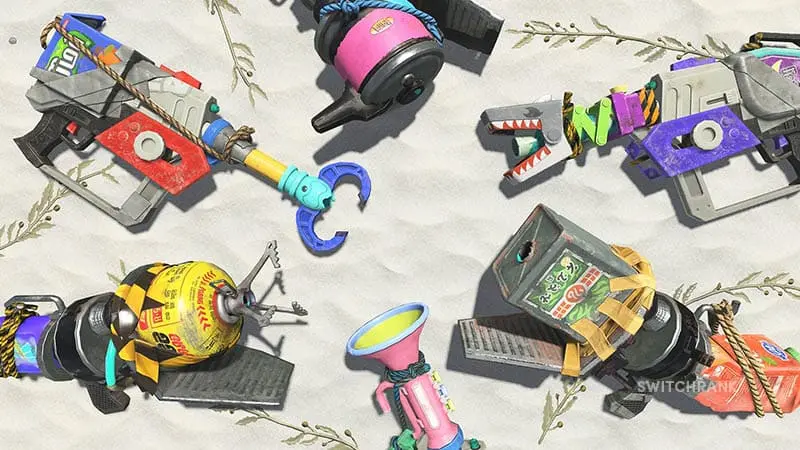
Blasters fire ink projectiles that explode either on impact or after travelling a set distance. Their splash damage can hit multiple Salmonids at once, making them effective in narrow paths and crowded encounters.
The drawback is their slower firing rhythm and limited ability to cover the ground. Missing an important shot can leave you with very little time to react as enemies continue moving closer.
Some Blasters favour a larger explosion radius, while others improve direct-hit damage, range or firing speed. Blast Boot and Dash Bomb can help create an escape route when the weapon cannot paint one quickly enough.
Best for: Tight spaces, grouped enemies and burst damage.
Rollers
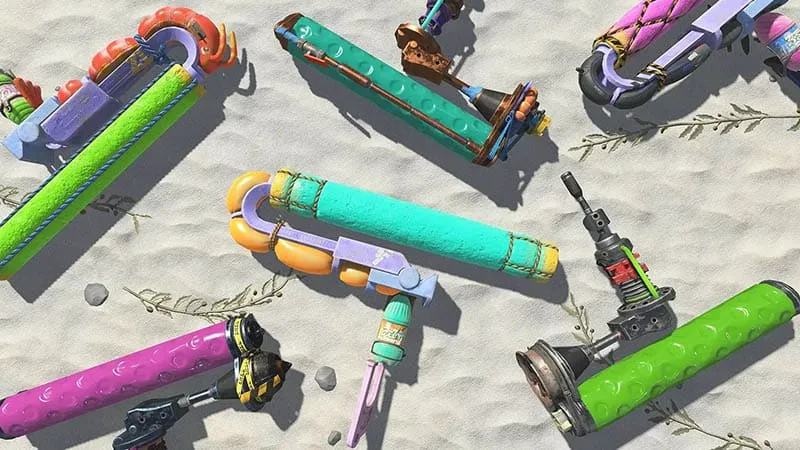
Rollers paint a wide section of the ground while moving and can launch ink forward with each swing. They are particularly useful when Lesser Salmonids gather together or when enemy ink has restricted your movement.
Lightweight versions usually offer better mobility and faster attacks. Heavier Rollers hit harder and may cover a wider area, although each swing requires more commitment.
Driving straight into every enemy group is rarely a good idea, especially when ranged bosses are attacking at the same time. Rollers are better at reclaiming space than pretending to be an indestructible lawnmower with anger issues.
Best for: Ground control and close-range crowd clearing.
Brushes
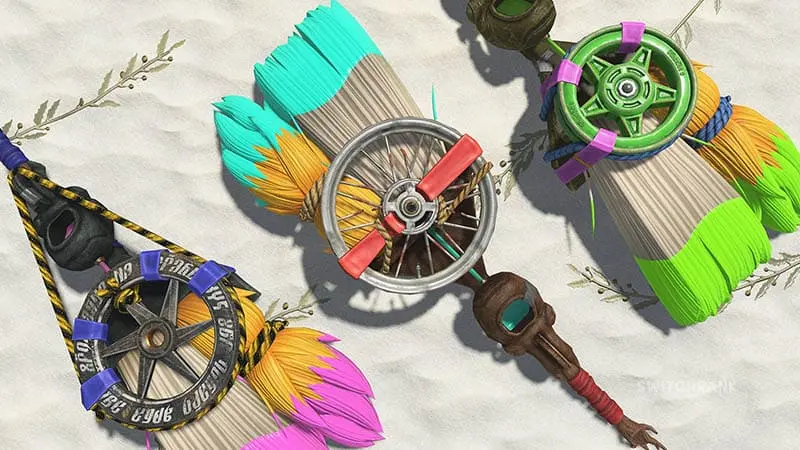
Brushes create a narrow ink trail while allowing you to move quickly across the battlefield. Their rapid swings deal repeated close-range damage, making them useful for escaping danger or chasing moving targets.
Some versions prioritise movement speed and attack rate, while heavier Brushes trade mobility for stronger strikes. Faster models are excellent for repositioning, especially when the arena becomes covered in enemy ink.
Limited range can make elevated enemies and distant weak points difficult to reach. Pairing a Brush with a ranged gadget gives you another option when moving closer would be too dangerous.
Best for: Fast movement, chasing Goldie and clearing nearby Salmonids.
Sloshers
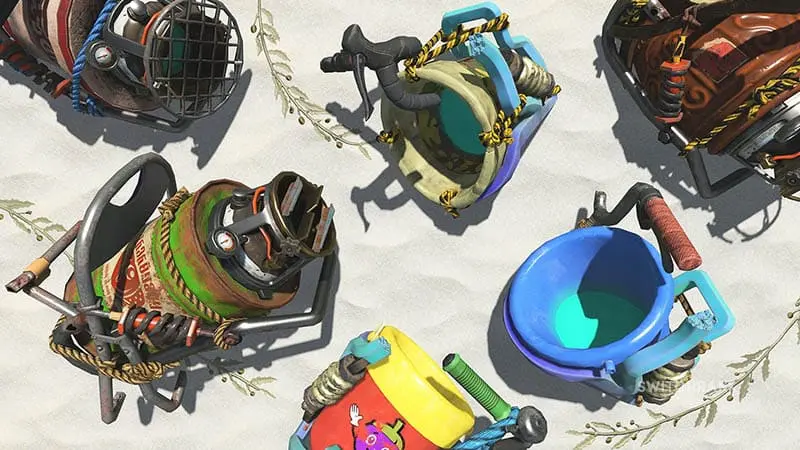
Sloshers throw ink in a curved arc rather than firing directly forward. This allows their attacks to pass over smaller obstacles and hit enemies positioned behind other Salmonids.
Their wide coverage is valuable in cluttered areas where direct shots are repeatedly blocked. Depending on the variation, a Slosher may offer a wider attack, faster use, longer reach or greater damage.
Timing matters more than it does with a rapid-fire weapon. Missing a throw leaves a noticeable gap before your next attack, so Sloshers reward players who choose their position carefully.
Best for: Elevated enemies, crowded lanes and attacking over obstacles.
Splatlings
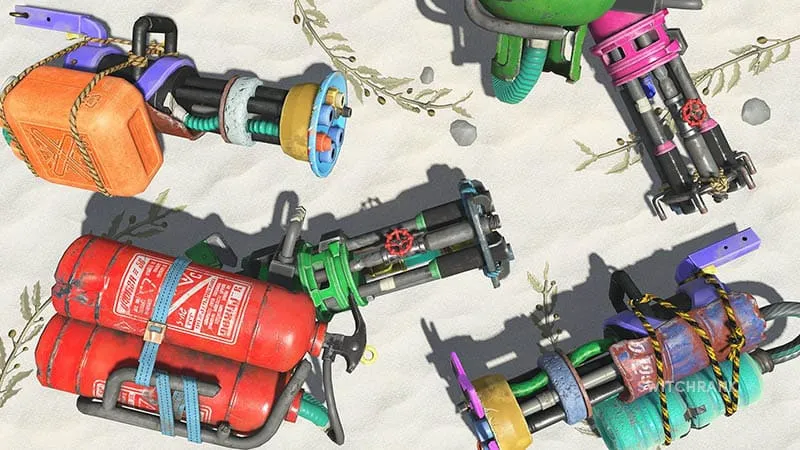
Splatlings must charge before releasing a long burst of rapid fire. Once ready, they can deal heavy sustained damage during a boss opening or prevent enemies from advancing through a narrow route.
Weapon variations may reduce charge time, extend firing duration, improve range or change movement speed. Shorter charges are easier to manage during chaotic raids, while long-range Splatlings perform better from protected positions.
Getting interrupted before firing is the main danger. Gadgets such as Shot Pot, Torqscrew and Splatellites can keep Lesser Salmonids away while you prepare another burst.
Best for: Sustained boss damage and holding defensive positions.
Brellas
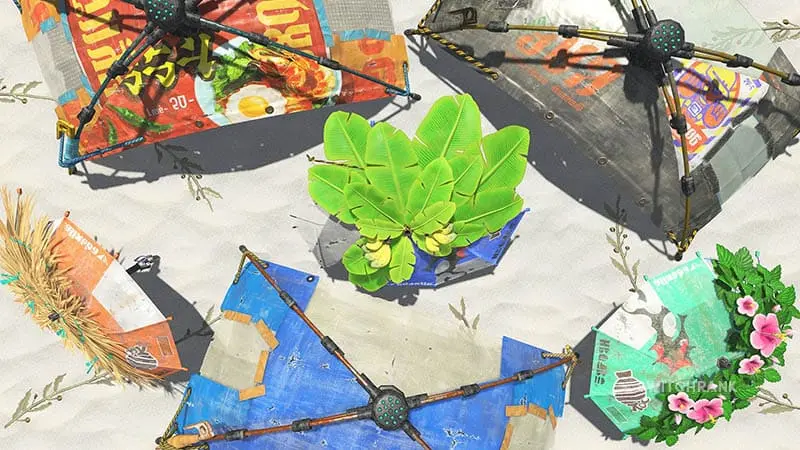
Brellas combine ink attacks with a protective canopy. The shield blocks pressure from the front, and certain versions can launch the canopy forward to create temporary moving cover.
Different models may change shield durability, recovery time, mobility and attack spread. A heavier canopy can absorb more punishment, but it may also make it harder to respond quickly when enemies approach from another direction.
The shield only protects part of your position. Use it to gain enough time to move, activate a gadget or finish attacking an exposed target rather than relying on it as permanent protection.
Best for: Defensive play and narrow battle areas.
Stringers
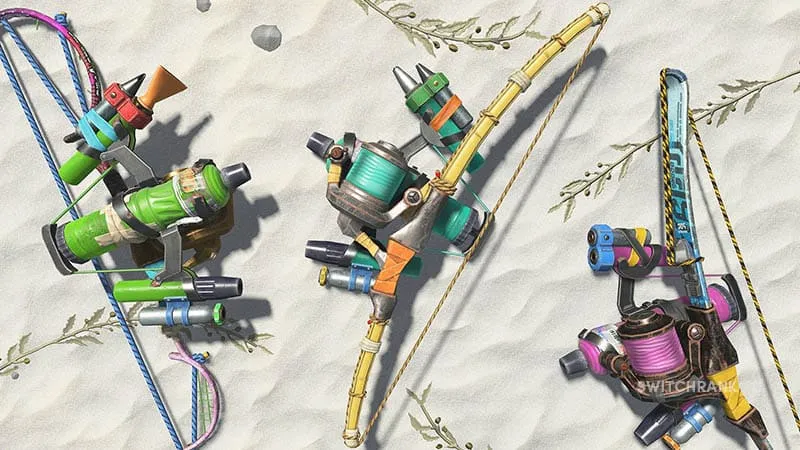
Stringers fire several projectiles in a bow-like pattern. Quick shots spread across a wider area, while charging the weapon tightens the attack and provides stronger pressure at medium or long range.
Variations can adjust projectile spread, range, charge speed and what happens after the shots land. Wider patterns are helpful for controlling space, while tighter attacks work better against larger targets and exposed weak points.
The distance between you and the enemy changes how the projectiles connect. Stringers take some practice, but accurate positioning can make them useful in several different situations.
Best for: Medium-range pressure, large enemies and area control.
Splatanas
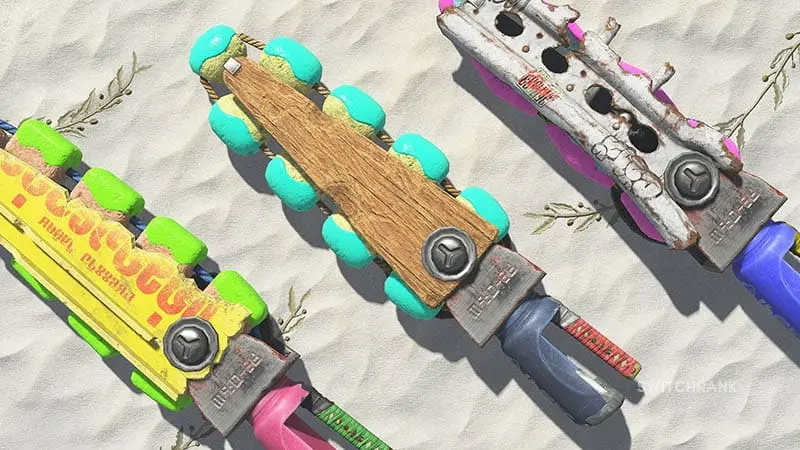
Splatanas use fast close-range slashes alongside charged attacks that send stronger waves of ink forward. The class mixes aggressive melee pressure with a limited ranged option.
Some versions improve slash speed and ink efficiency, while heavier models increase charged damage or attack reach. Faster Splatanas are more comfortable against groups, whereas slower weapons reward careful timing against tougher enemies.
Positioning remains the biggest risk. Moving too close to a Boss Salmonid can leave you with little time to avoid its next attack, so mobility gadgets are often a valuable part of the loadout.
Best for: Aggressive close-range combat and charged burst damage.
Are There More Weapon Types?
Nintendo has not confirmed any additional main weapon class. Splatoon Raiders currently uses these 11 types:
- Shooters
- Dualies
- Chargers
- Blasters
- Rollers
- Brushes
- Sloshers
- Splatlings
- Brellas
- Stringers
- Splatanas
Instead of adding a twelfth category, the game expands its arsenal through weapon variations. More than 100 versions are available, with differences including better range, improved ink efficiency and additional powers.
Gadgets are separate from weapons. They belong to the Speed, Power and Tactical Tank systems, supporting your main weapon through movement, direct damage or battlefield control.
How to Choose the Right Weapon Variation
Crowded encounters usually favour fast attacks, strong ink coverage and short recovery times. Weapons that can quickly clear Lesser Salmonids also make it easier to keep escape routes open.
Boss fights require a different approach. Look for enough range to reach exposed weak points, reliable accuracy and damage that can be delivered before the opening disappears.
Mobile builds benefit from efficient ink use, movement while attacking and fast recovery after each action. Slower weapons can still work, but they usually need gadgets that create space or protect the player during longer attacks.
Rare weapons are not automatically better. A special power may look useful on paper, but poor range or an uncomfortable firing rhythm can still make that weapon unsuitable for your build.
Whenever possible, test similar weapons under the same conditions before spending upgrade materials. Small statistical differences can become much more noticeable once Salmonids begin attacking from several directions.
What Should You Do With Duplicate Weapons?
Do not scrap every duplicate immediately. Two weapons from the same class may be designed for completely different roles.
A fast Shooter may be useful against large groups, while a longer-range version could perform better during boss encounters. The same idea applies to lightweight and heavy Rollers, quick and slow Chargers or mobile and stationary Splatlings.
Before breaking down a duplicate, compare:
- Base statistics
- Special powers
- Upgrade level
- Effective combat role
- Compatibility with your Tank and gadgets
Weapons and gadgets can be upgraded with materials collected throughout the adventure, so keeping a useful alternative may save you from rebuilding a loadout later.
Which Weapon Type Should You Use?
Shooters remain the safest all-purpose choice. Dualies and Brushes suit players who prefer mobility, while Rollers, Blasters and Sloshers are effective when several Salmonids occupy the same area.
Chargers, Stringers and Splatlings require more careful positioning. Brellas add protection to defensive builds, and Splatanas reward players who are comfortable fighting at close range.
The weapon class determines how you attack, but the variation decides whether that style fits your current build. Instead of searching for one weapon that can handle every situation, choose a version that performs one role reliably and use your Tank and gadgets to cover the rest.

