

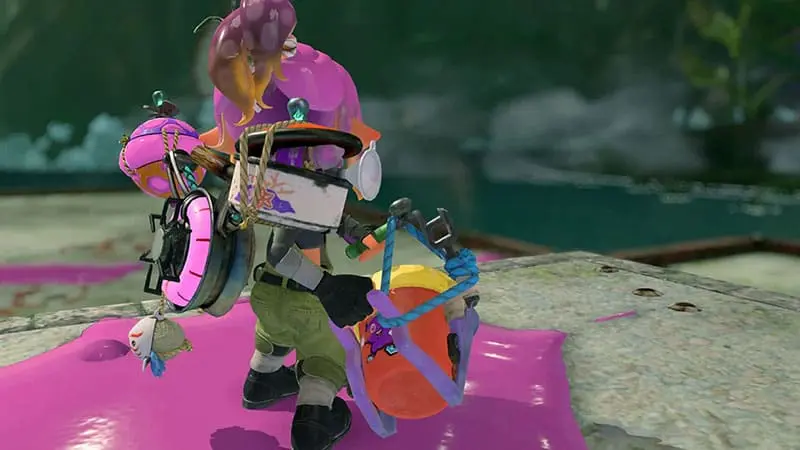
This Splatoon Raiders beginner’s guide covers the upgrades, tank choices and raid habits that make the opening hours easier. The game gives you plenty of freedom, but spending resources carelessly or forcing the wrong tank into every mission can slow your progress.
1. Start on Raider Difficulty
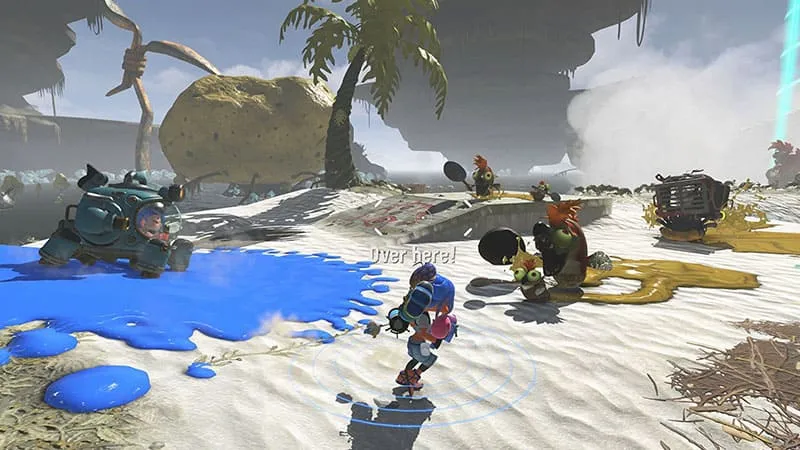
Raider is the most balanced starting difficulty for players who already understand the basics of Splatoon or third-person action games. Tourist is better if you want a more relaxed introduction, while Survivalist is designed for a tougher challenge.
You can change the difficulty later from the hideout ship, so the first choice is not permanent. Difficulty also does not improve the amount or quality of loot you receive. There is little reason to stay on Survivalist if it turns every early raid into a slow struggle.
2. Use Ink to Recover and Reposition
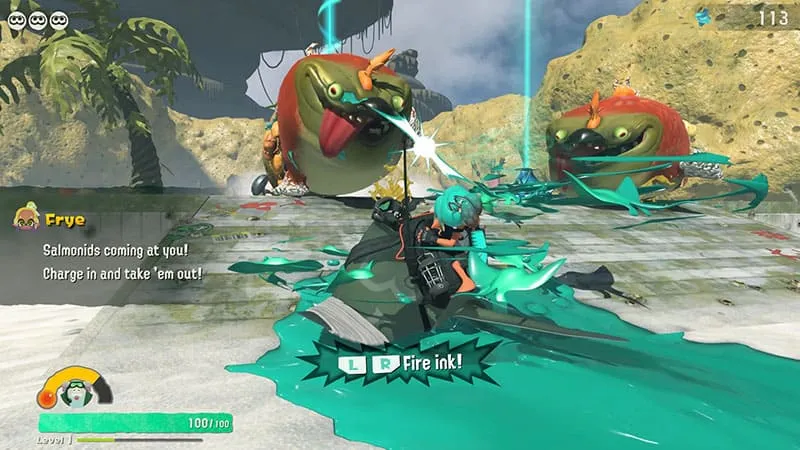
Ink is more than ammunition. Swimming through your own colour lets you move faster, refill your weapon and recover lost health.
Cover the ground before a difficult fight whenever possible. If your health drops, stop shooting and retreat into the ink instead of remaining exposed. New players often fail because they continue attacking until their weapon is empty and their escape route is gone.
Creating safe paths before enemies surround you makes a much bigger difference than firing constantly.
3. Choose a Main Tank, but Learn All Three
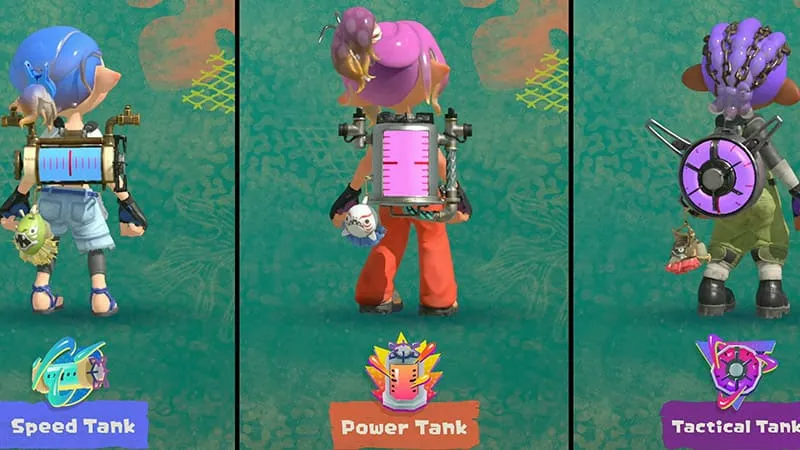
Splatoon Raiders includes Speed, Power and Tactical tanks, and each one suits a different type of raid.
The Speed Tank is useful when movement and quick escapes matter. The Power Tank handles groups through direct damage, while the Tactical Tank uses turrets, linked bombs and other tools to control an area.
It is sensible to focus on one tank during the opening hours because tanks gain additional benefits through use. However, do not treat that choice as permanent. A tank that works well during exploration may struggle in a defence mission or against a large crowd.
4. Spend Early Skill Points on Reliable Upgrades
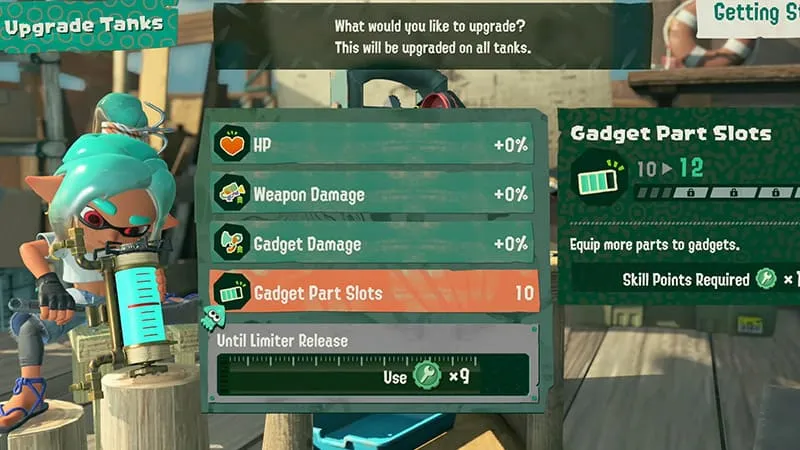
Basic upgrades such as health, weapon damage and gadget damage apply across the different tank types. That makes them safer early investments than highly specific bonuses.
Weapon Damage is a useful starting option because it improves nearly every raid. Players who take frequent hits may benefit more from additional health, while gadget-focused builds can invest in gadget damage or extra part capacity.
Avoid spending points simply because an upgrade is available. Think about what is actually causing your raid failures first.
5. Do Not Upgrade Every Weapon You Find
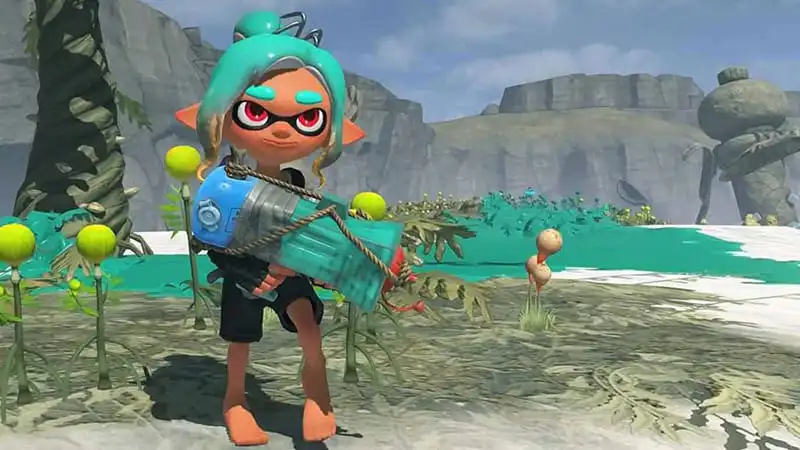
Raids provide a steady supply of weapons, but that does not mean every one deserves your resources.
Spirhalite Shard costs increase as weapons gain levels. Spreading those materials across every new drop leaves you with several average weapons instead of a few dependable ones.
Choose two or three weapon types that cover different situations. A short-range option, a weapon with safer distance and something suited to larger groups will give you enough flexibility without draining your upgrade materials.
6. Clear Out Weapons You No Longer Use
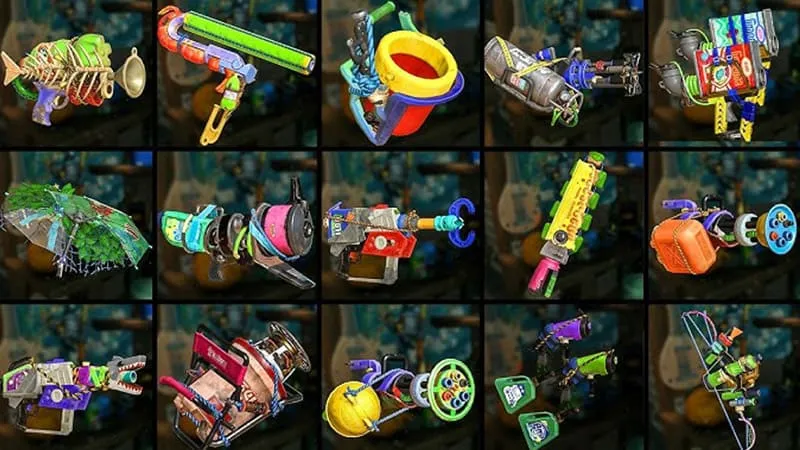
Once Weapon Scraping becomes available, low-rarity weapons and unwanted duplicates can be broken down for useful materials.
There is little value in keeping every early weapon once stronger replacements begin to appear. Review your collection regularly and remove equipment that has weaker stats or no place in your current setup.
Do not scrap everything immediately, though. A weapon that seems unnecessary during a normal raid may still be useful when a mission limits your equipment or favours a different range.
7. Check Gadget Slot Costs, Not Just Rarity
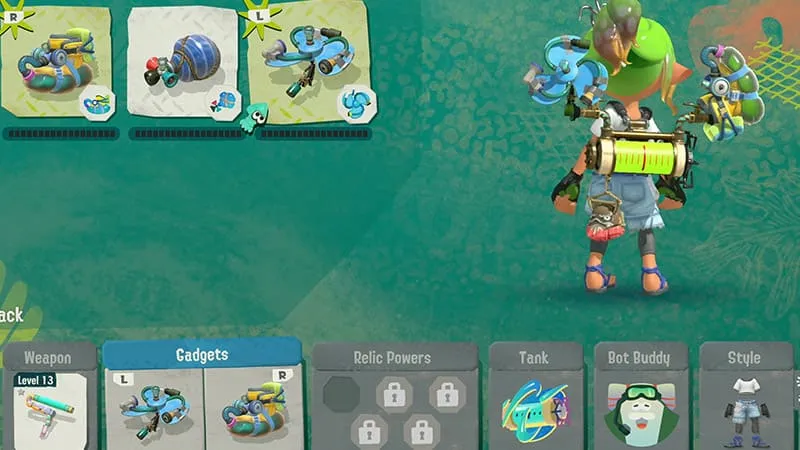
Higher-rarity gadget parts are not automatically the best choice for every build. Stronger parts may use more of your available slots, leaving less space for other bonuses.
Compare the effect of each part with its slot cost. Two smaller bonuses may improve your build more than one expensive part, especially before your tank gains additional capacity.
Gadgets should also match the mission. Turrets and area-control tools are useful when enemies approach from fixed directions, while other parts may suit faster raids where you cannot remain in one position.
8. Do Not Be Afraid to Fail a Solo Raid
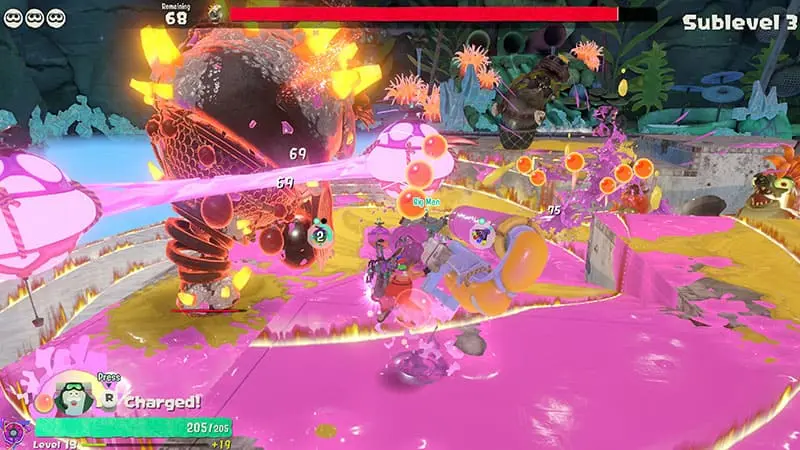
A failed solo raid does not remove everything you collected. Weapons and salvage found during the attempt are still kept, so exploring a difficult area is rarely a complete waste of time.
This means you can test unfamiliar weapons, learn enemy patterns and search side routes without treating every mistake as a disaster.
If a raid repeatedly stops your progress, return to the ship and change something. Lower the difficulty, switch tanks, improve a weapon or adjust your gadget parts. Repeating the same setup without understanding why it failed usually wastes more time than the raid itself.
9. Learn Boss Salmonid Patterns
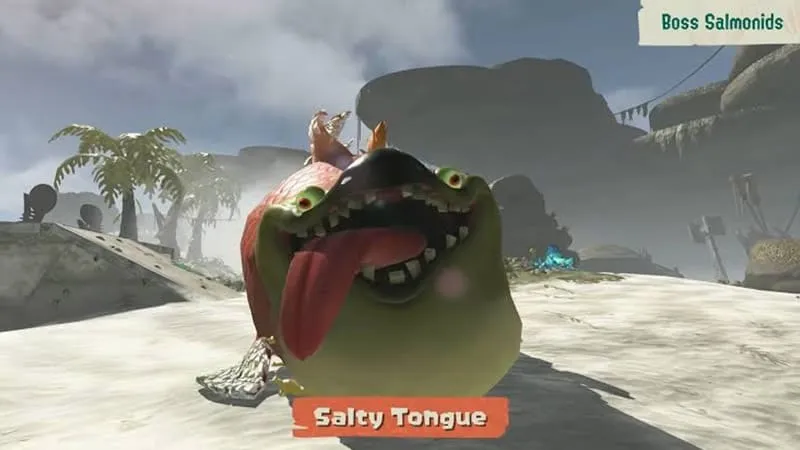
Boss Salmonids are not defeated efficiently by firing at them without pause. Each one has its own attacks, openings and vulnerable moments.
Watch the first part of the encounter before committing all your resources. Learn which attacks force you to move, when the boss leaves itself exposed and where you can safely recover ink.
Defeating Boss Salmonids rewards Mega Power Eggs, which provide important energy for the Exploration Bot. Taking a little longer to understand the fight is better than repeatedly losing because you ignored its pattern.
10. Complete the First Three Raids Early
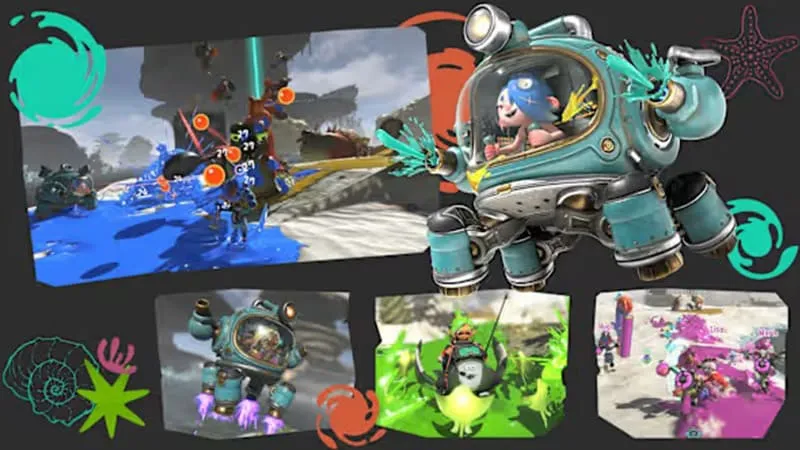
Several features are not available when you first reach Erpp Island. Multiplayer options and amiibo access unlock after completing the first three raids.
Once they are finished, return to the hideout ship and use the radio to access local wireless or online multiplayer. If those options are missing before that point, your game is probably not broken.
Completing the opening raids also gives you enough equipment and materials to start making meaningful choices about tanks, weapons and upgrades.
Final Advice
The best early progress comes from staying flexible. Use ink as part of your defence, invest in a small number of reliable weapons and change tanks when a mission demands it.
Splatoon Raiders does not punish experimentation as heavily as it first appears. Failed solo raids still provide useful equipment, and difficulty can be changed without reducing your rewards. Learn what each system is for before spending everything, and the first hours become far more manageable.

